
3000 Grit Mechanically Polished Concrete – Existing Floor Match
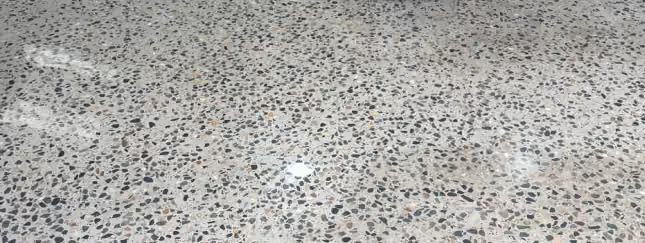
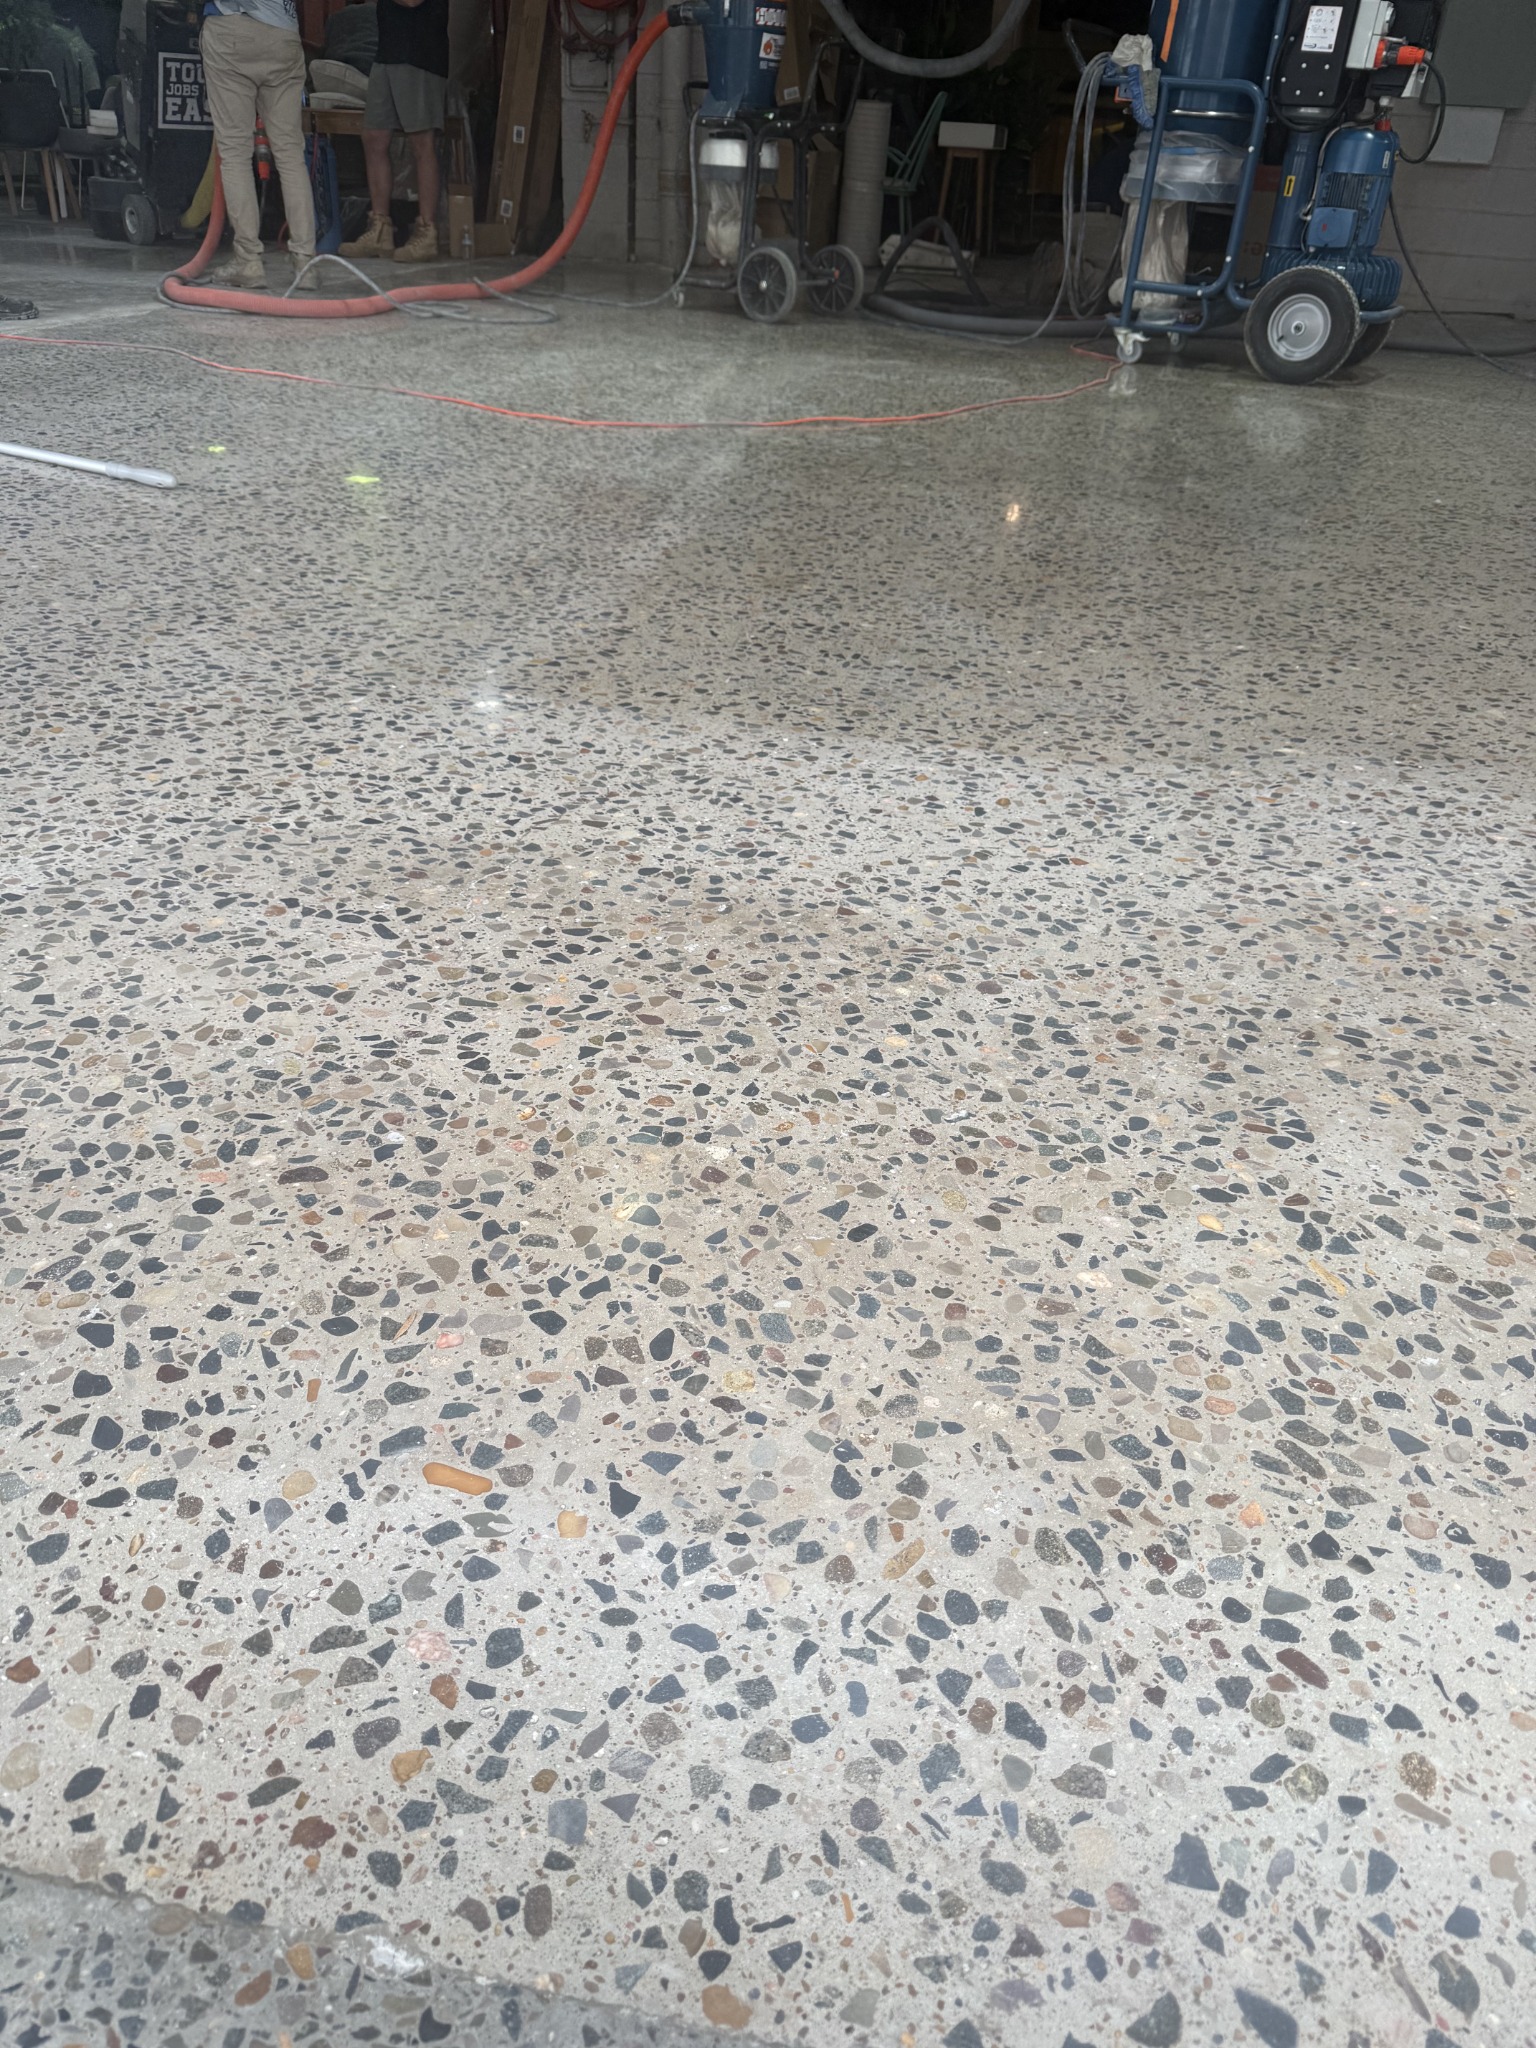
We progressively ground, grouted, densified and polished the concrete to 3000 grit before burnishing it to closely match the existing polished floor.
Project Overview
Matching an Existing 3000-Grit Polished Concrete Floor
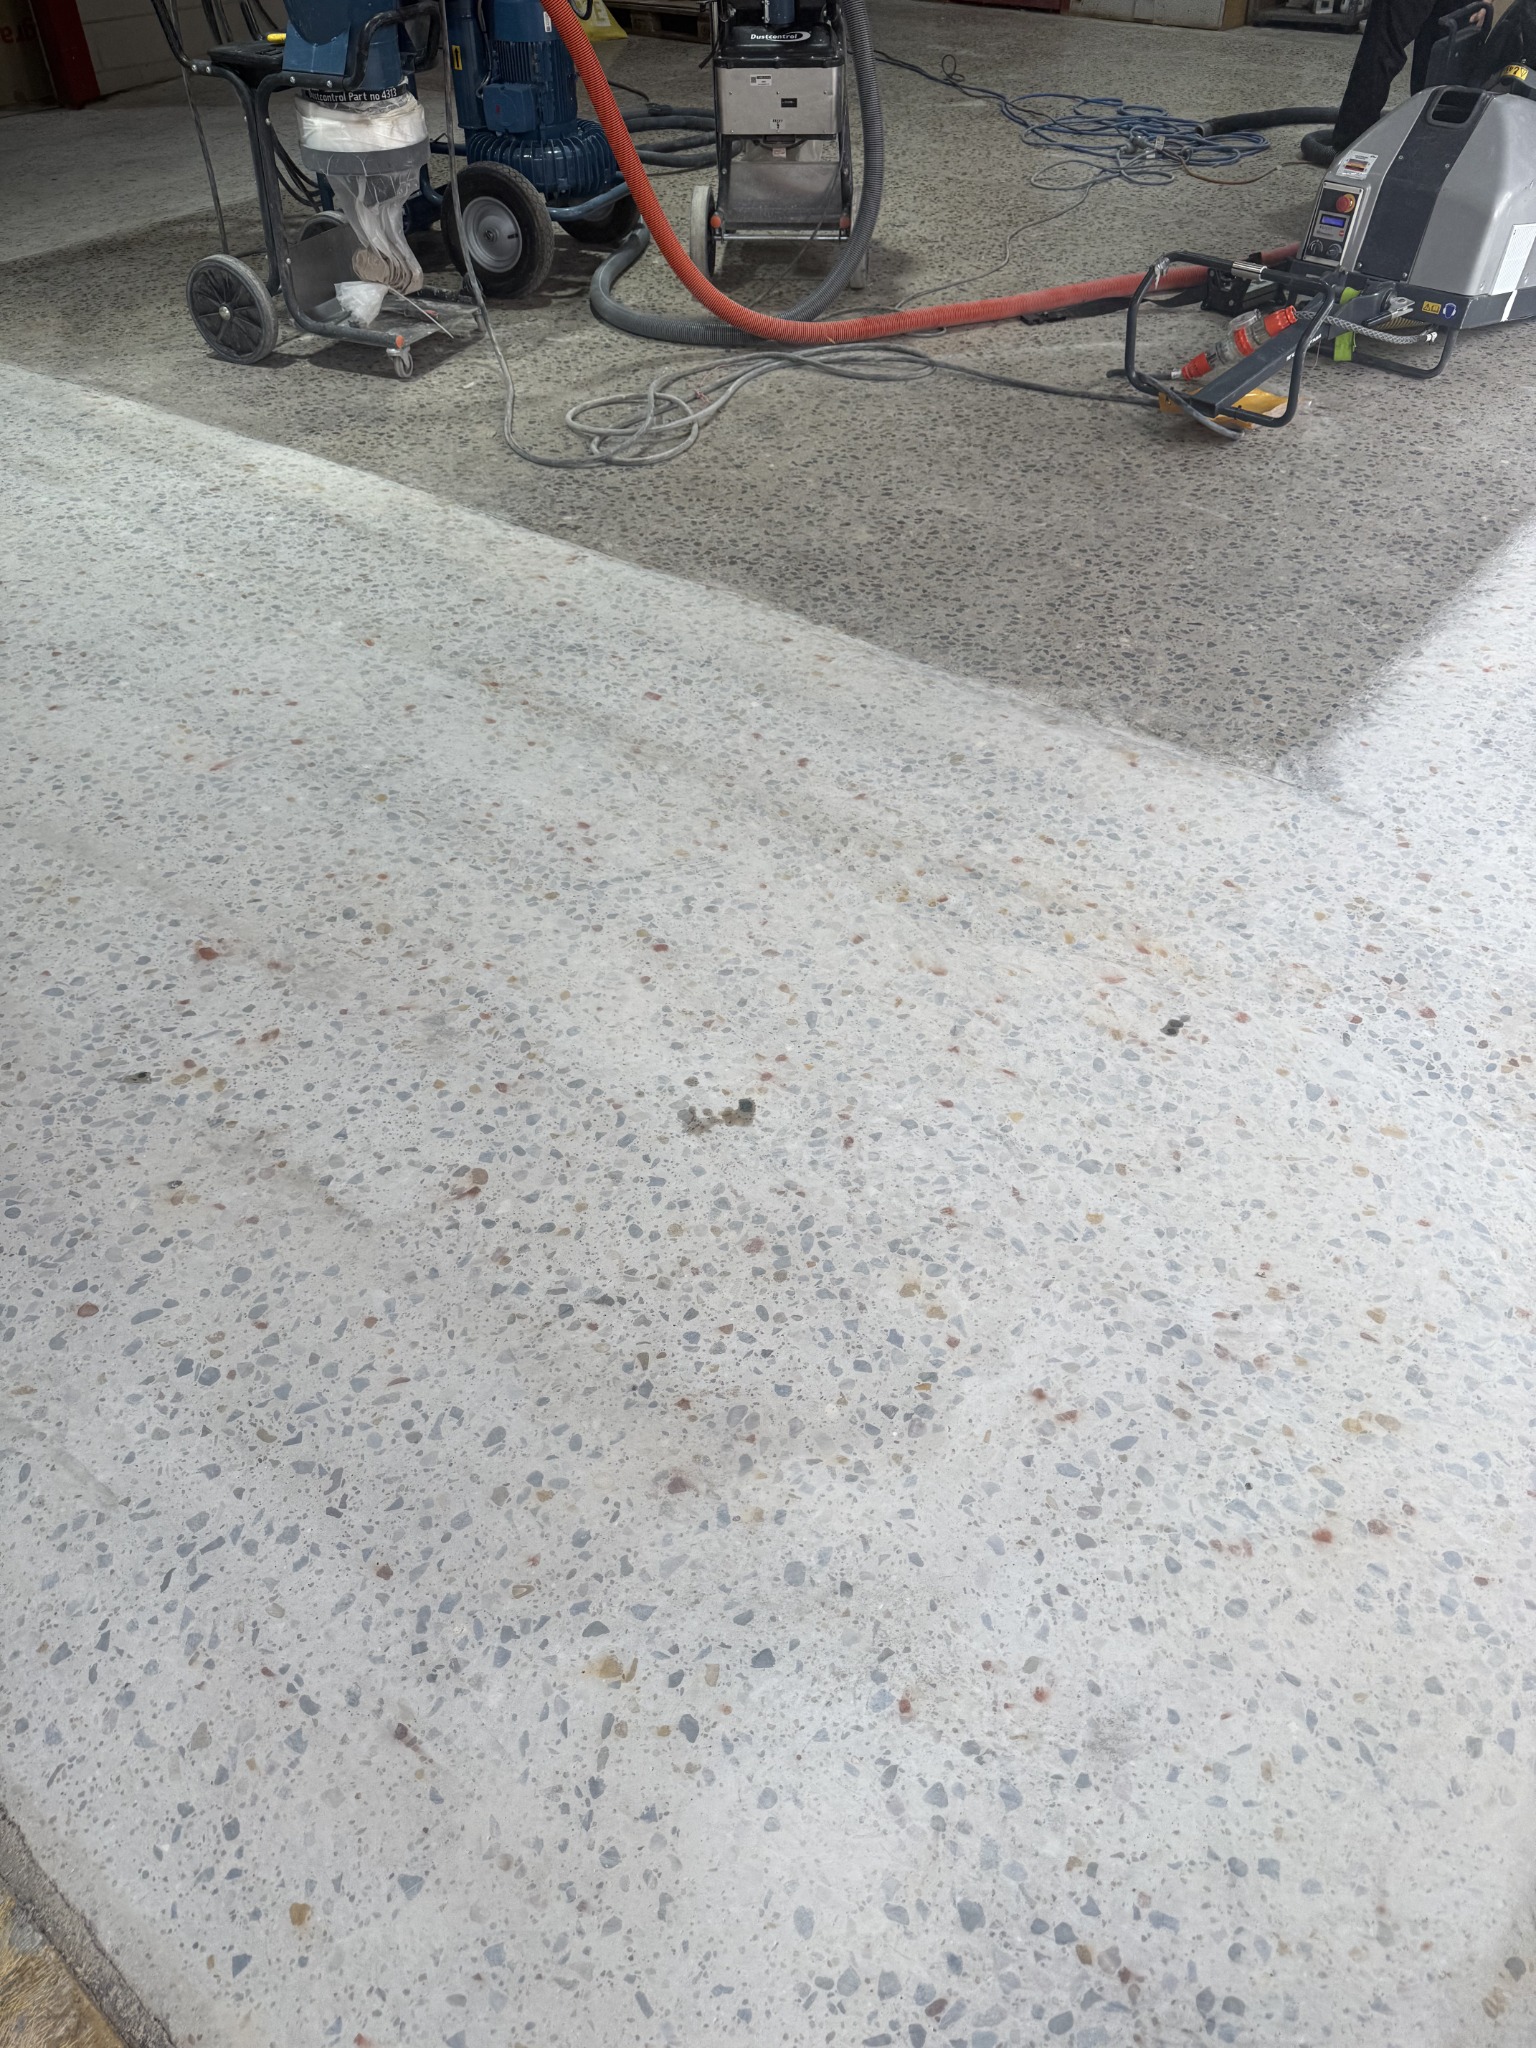
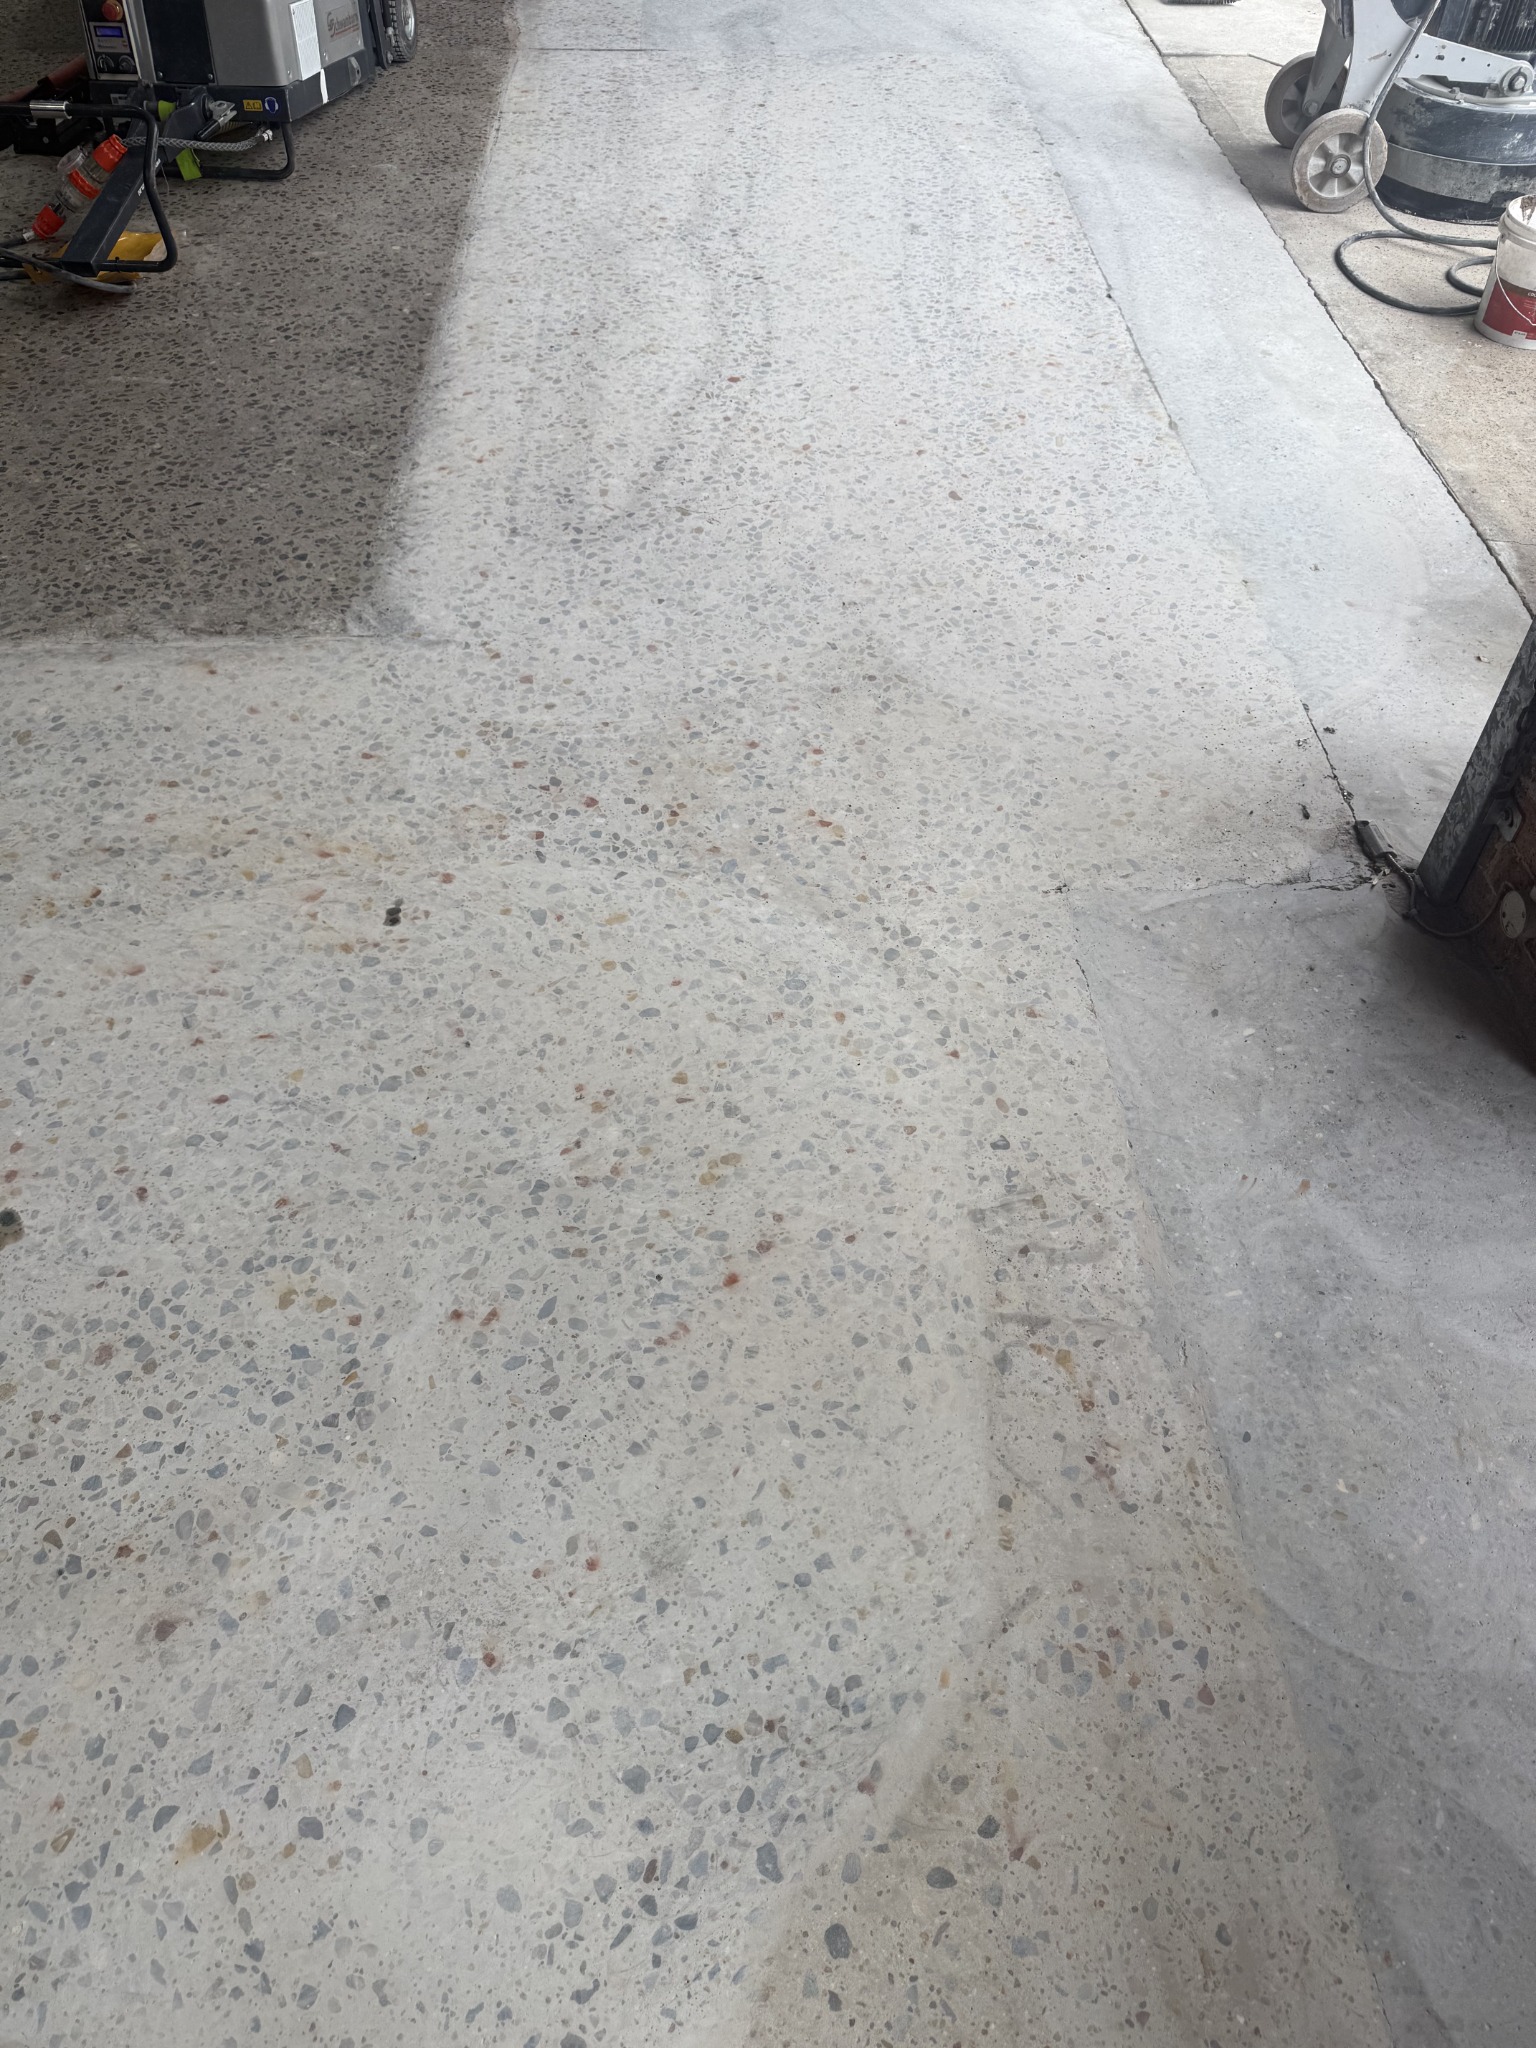
The objective of this project was more involved than simply producing a shiny concrete floor. Our client already had an older section of mechanically polished concrete finished to 3000 grit and wanted the treated area to sit naturally beside it.
Matching existing polished concrete requires control at every stage. Aggregate exposure, grinding depth, scratch removal, grouting, surface density and the progression of the polishing diamonds can all affect colour, clarity and reflected light. We used the existing floor as the visual reference throughout the work and aimed for the closest practical match while respecting the natural characteristics of the concrete.
Separate concrete areas can vary because of age, aggregate distribution, mix design, curing, previous wear and earlier treatment. An absolutely identical result cannot always be guaranteed, but a controlled mechanically polished concrete process can create a much more consistent relationship between the old and newly treated sections.
Project Facts
- Client objective: Closely match an existing 3000-grit polished concrete floor
- Initial grinding: 30-grit double-segment Redi Lock metal-bond diamonds
- Metal-bond refinement: Progressive grinding through to 120 grit
- Surface treatment: Concrete grouting followed by densifier application
- Resin polishing: Progressive resin-bond polishing from 50 grit to 3000 grit
- Final stage: Mechanical burnishing for improved clarity and sheen
Initial Grinding with 30-Grit Redi Lock Diamonds
We began the mechanical preparation with 30-grit double-segment Redi Lock metal-bond diamonds. This coarse stage established the working profile, addressed surface inconsistencies and created a consistent starting point for the following stages.
Rather than making one fast pass, we worked the grinder in repeated overlapping and cross-hatch directions. These passes helped maintain more consistent aggregate exposure and reduced the risk of visible machine lines or missed areas. The first cut is critical because deep scratches or uneven exposure left at this stage can remain visible through the finer polish.
Progressive Metal-Bond Diamond Refinement
After establishing the initial cut, we progressively refined the concrete through the required metal-bond stages up to 120 grit. Each stage was used to remove the scratch pattern left by the previous diamonds. We cleaned and inspected the floor as the work progressed so that deeper scratches were not carried forward.
A quality 3000-grit diamond-polished concrete floor is not created by the final pad alone. Clarity and consistent reflection depend heavily on the earlier metal-bond work. Skipping a stage or moving forward too quickly can leave scratches, cloudy sections or uneven reflected light in the completed floor.
Concrete Grouting and Surface Refinement
Once the metal grinding was complete, we carried out the concrete grouting stage. Polished concrete can contain pinholes, pores and minor surface voids that become more noticeable as the gloss develops. Grouting helps reduce the appearance of these small imperfections and creates a more continuous surface before resin polishing begins.
This was a surface-refinement process, not a claim of structural crack repair. After the grout had performed as required, the floor was cleaned and prepared for densification.
Applying Concrete Densifier
Concrete densifier was used to increase the hardness and density of the surface being polished. It penetrates the concrete and reacts with available material within the surface, helping reduce dusting, improve surface durability and support the finer resin-polishing stages.
Densifier does not structurally reinforce or repair the complete slab. Its role in densified polished concrete is to improve the properties of the surface so it responds more consistently during fine polishing.
Resin Polishing from 50 Grit to 3000 Grit
We then changed to resin-bond polishing pads, beginning at 50 grit and progressing through the required stages to the final 3000-grit finish. Each resin stage further refined the scratch pattern, developed clarity and increased reflected light. The concrete was cleaned between stages so loose abrasive material from an earlier grit could not contaminate the next pad.
Throughout the sequence, we compared the developing sheen with the existing polished concrete. This gave us a practical visual reference and helped ensure the newly treated area did not look unfinished beside the older 3000-grit floor.
Final Polish and Burnishing
After the final 3000-grit polishing stage, we burnished the floor. Burnishing improved the consistency of the sheen and brought out the clarity developed through the earlier metal- and resin-bond stages.
The high-gloss finish was developed mechanically through grinding, grouting, densification, resin polishing and burnishing. We did not rely on a clear decorative coating to create the appearance. The completed surface closely aligned with the existing floor while retaining the natural variation of real concrete.
Why Repeated Overlapping Passes Mattered
Every polishing stage needed to work the concrete evenly. Repeated passes in different directions helped us maintain aggregate exposure, remove the previous scratch pattern, reduce machine lines, avoid dull areas and blend the treated section more naturally with the existing floor.
A rushed floor can appear acceptable from one viewpoint but reveal lines or uneven gloss under natural light. Continual cleaning, inspection and repeated passes were central to achieving a balanced burnished concrete finish.
The Completed Finish
The completed surface had a refined high-gloss appearance, improved clarity and an even burnished sheen. Most importantly, it was processed to sit naturally beside the existing 3000-grit polished concrete rather than appearing as an unrelated section.
Small differences can remain between separate concrete areas because aggregate, cement colour, age and previous wear all influence the final appearance. These are normal characteristics of polished concrete and do not automatically indicate a defect.
Maintaining a 3000-Grit Polished Concrete Floor
- Remove dust, grit and abrasive debris regularly.
- Use a clean microfibre mop or suitable automatic scrubber.
- Clean with a pH-neutral product intended for polished concrete.
- Remove spills promptly.
- Avoid harsh acidic cleaners and aggressive abrasive pads.
- Use suitable entrance matting in high-traffic areas.
Heavily trafficked areas can gradually become dull. Depending on the use and condition of the floor, professional cleaning and re-burnishing may help restore the appearance. Mechanically polished concrete should not be described as maintenance-free, scratch-proof or stain-proof.
Where Mechanically Polished Concrete Can Be Used
A properly specified system can suit commercial interiors, retail stores, showrooms, reception areas, offices, restaurants, studios, warehouses with customer-facing areas and high-end hospitality interiors. The finish should be chosen around traffic, cleaning requirements and relevant slip-resistance considerations. We also provide concrete grinding and polishing and commercial concrete grinding across Sydney.
Frequently Asked Questions
What does a 3000-grit finish mean?
The concrete has been progressively refined through a sequence of diamond abrasives before reaching a very fine final stage. The result still depends on the earlier grinding, densification and burnishing.
Can new polished concrete be identical to an older floor?
A separately treated section can often be closely matched, but an identical result cannot be guaranteed because different concrete areas can vary in age, aggregate, mix design and wear.
Why is densifier used?
Densifier reacts within the concrete surface to increase surface hardness and density, reduce dusting and improve the response to fine polishing. It is not a structural slab repair.
Why are several diamond stages required?
Each stage removes the scratch pattern left by the previous grit. Moving to fine pads too soon can leave deeper scratches or cloudy reflection visible in the completed floor.
Does the 3000-grit pad create the finish by itself?
No. It performs correctly only after the concrete has been evenly prepared through the preceding metal-bond, grouting, densification and resin stages.
Polished Concrete Services Across Sydney
Resin Me Epoxy provides concrete grinding, mechanically polished concrete and burnishing services across Sydney. To discuss an existing-floor match, request a polished concrete assessment or view our completed flooring projects.
Project Gallery
Have a Floor That Needs This?
Request a commercial floor-preparation assessment for your project scope, access and required handover condition.